One of the most important but perhaps under-appreciated tasks in the design and development teams is the judicious optimisation of images.
We use the word judicious very specifically here because it is a job we can’t currently leave solely to computers. It is a job that requires keen eyes and excellent judgement.
Why?
The largest category of assets, in terms of file size, on a web application are almost always the images. An unneeded JavaScript library like jQuery or generally flabby code (which obviously we would never be guilty of writing, but suppose we did) can be easily dwarfed, in file size terms, by uncompressed images.
The more data a user has to download, the slower an application seems. It is beyond doubt that slower applications are less satisfactory applications.
Imagine the difference a fast page load makes to someone’s first impression of an application. If a user is sat watching a spinner waiting for an application to load it makes for a very poor experience. It’s a potential outcome that makes us all at bet365 very unhappy indeed. Subsequently we work very hard across departments to minimise any such delay.
One could argue time spent optimising images could be better spent elsewhere. On that point we would disagree, we would however concede that images are easily cached by the browser, so the second time a users browser requests the same asset, the cost of downloading has already been paid and it is retrieved from a local location. However, in a fast moving application such as ours we update assets fairly frequently. The requires us to ‘break’ or ‘bust’ the cache; necessitating a fresh download of the asset on the client side.
The point has hopefully been laboured enough by now: we want the smallest images possible.
Wrapped up in the last sentence is the core of conflict when it comes to optimising images. We want the best possible image quality with the smallest possible file size. Two diametrically opposed goals.
Approaches
There are a number of ways we can work to deliver the smallest possible images:
First of all, we can work to ensure that images should only be served at the size they are intended to be displayed. There is little point in serving an image at 600px x 200px size if it will be displayed client side at 300px x 100px. This isn’t always so clear cut however. There are times we want some leeway in size due to a responsive layout where images may need to ‘grow’ within their container a little.
The next ‘no brainer’ step to take is to process graphical assets through any number of the lossless compression techniques available. OptiPNG, AdvPNG, JPEGOptim, Jpegtran, Gifsicle et al.
This task doesn’t need to happen on the command line either. There are a growing number of GUI utilities for each platform from the free ImageOptim(OS X) to the sublime Squash. The latest version of ImageOptim also includes compression of SVGs images using the de-facto choice of SVG compression tools, SVGO.
As the name suggests, ‘lossless’ compression removes file size while retaining the same image fidelity. Lossless compression represents a quick win; safely removing much of the cruft inside an image file with no risk of image degradation.
At this stage. We have dealt with the low-hanging fruit of image compression. Significant file saving could have been made for very little effort. However, for the biggest file savings we need to introduce a little ‘lossy’ compression and make a visual judgement on the resultant output file.
Lossy compression
We have yet to find a safe way to automate the lossy optimisation of image assets without the undesirable possibility of visual degrading an asset.
An amount of lossy compression that is appropriate for one image may be completely inappropriate for another. At present therefore, this final optimisation stage can only be performed with human eyeballs and good judgement.
Lossy optimisation of images is arguably laborious. A process of trial and error but the file size, and subsequent time savings, for our users make it worthwhile.
The process involves continually adding more lossy compression while retaining perceived image quality. The sweet spot for an image is the lowest file size possible with no obvious degradation of image quality. It’s a repetitive human process: changing settings, exporting file and comparing results.
Fringe techniques to eke savings
For our sports products we make little use of large JPEG images. However, for other gaming products they are used with far greater ubiquity. In these situations, we can sometimes make file size economies by employing the ‘Jobsis observation’. In a nut shell, this phenomenon is that large JPEG images exported at a far lower quality (e.g. 30-40 on the quality slider) at twice the necessary resolution (for a smaller display size) can result in a smaller file size with no visible image degradation when compared to their ‘normal’ counterpart. To exemplify, we ran a small test exporting the same portrait image at various sizes and quality settings:
- 250px x 187px, 100% quality resulted in a 42.3KB file
- 1600px x 1186px (displaying at 250px wide), 34% quality resulted in a 30.9KB image
While seemingly counter intuitive, both images were visually inseparable when put to observers.
In practice
So far, we have talked anecdotally about techniques and file size savings but what real-world improvements can we actually make? Quite recently on the sports product at bet365 we realised that there was a possibility that image assets on the live mobile sports site had slipped the optimisation net. We used this as an opportunity to see how much further we could optimise some of the images we were already serving up on the homepage using the approaches discussed. Here were the initial asset sizes of the images in question:
mob_age-of-the-gods-menu.jpg 40KB
mob_blackjack-menu.jpg 29KB
mob_Cat-In-Vegas_menu.jpg 19KB
mob_Jackpot-Giant_menu.jpg 17KB
mob_live-roulette-menu.jpg 14KB
mob_plenty-o-fortune-menu.jpg 32KB
HiRes-Footer-Icons-v15.png 105KB
HiResSportIconsV17.png 100KB
HiResSportIconsV18.png 303KB
Running these through lossless compression resulted in the following file sizes:
mob_age-of-the-gods-menu.jpg 37KB
mob_blackjack-menu.jpg 27KB
mob_Cat-In-Vegas_menu.jpg 19KB
mob_Jackpot-Giant_menu.jpg 17KB
mob_live-roulette-menu.jpg 14KB
mob_plenty-o-fortune-menu.jpg 30KB
HiRes-Footer-Icons-v15.png 67KB
HiResSportIconsV17.png 88KB
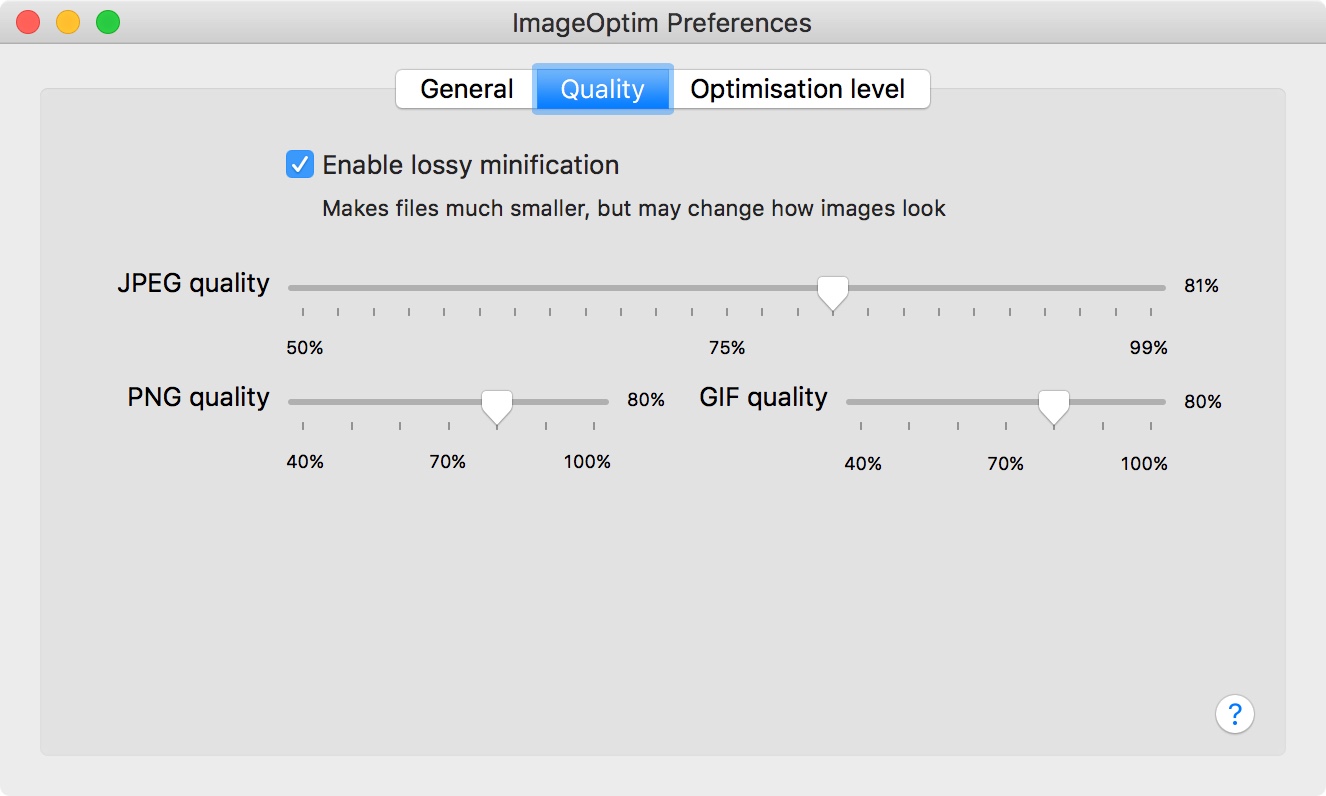
HiResSportIconsV18.png 195KBExcellent, 163KB saved and no visual degradation. What difference does a little lossy compression make? We used the ImageOptim program for Mac and opted for 81% JPEG compression and 80% PNG compression.
Here are the results:
mob_age-of-the-gods-menu.jpg 14KB
mob_blackjack-menu.jpg 10KB
mob_Cat-In-Vegas_menu.jpg 13KB
mob_Jackpot-Giant_menu.jpg 11KB
mob_live-roulette-menu.jpg 7KB
mob_plenty-o-fortune-menu.jpg 12KB
HiRes-Footer-Icons-v15.png 45KB
HiResSportIconsV17.png 88KB
HiResSportIconsV18.png 67KB
From a file size point of view, this looks very promising. 390KB saved from the original file sizes, 59.3% of the original file size! However, the proof of the pudding is in the eating.
Sadly, upon inspection, the resultant files are not all acceptable. Take a look at the graphic for ‘Plenty O Fortune’ before and after below.


Notice the visual artefacts appearing in the second image? And the colour shift on the text? Whether this level of degradation is acceptable is up for debate. Factors such as where the image will be displayed and how many KB an optimisation saves are important considerations in the choice. For our situation, that amount of visual degradation that level of lossy compression introduced for the KB savings made wasn’t an acceptable compromise. Therefore, we went back to our cycle of tweaking the settings, re-optimising and analysing the results.
However, the biggest individual file saving in that prior example run was ‘HiResSportIconsV18.png’. In this case, inspection revealed a file virtually indistinguishable from the original but 236KB smaller! That could be an extra second of spinner time saved for our users. Time well spent.
Summary
This brief foray into lossless and lossy image compression demonstrates that it is not possible to automate the lossy compression of images without the danger of introducing unwanted image degradation in some cases.
Despite this, we believe applying some lossy compression to images is a manual task that is worth performing.
File savings are time savings.
For the end user attempting to complete their task with minimum delay, any time saving is a benefit we feel is worth pursuing.